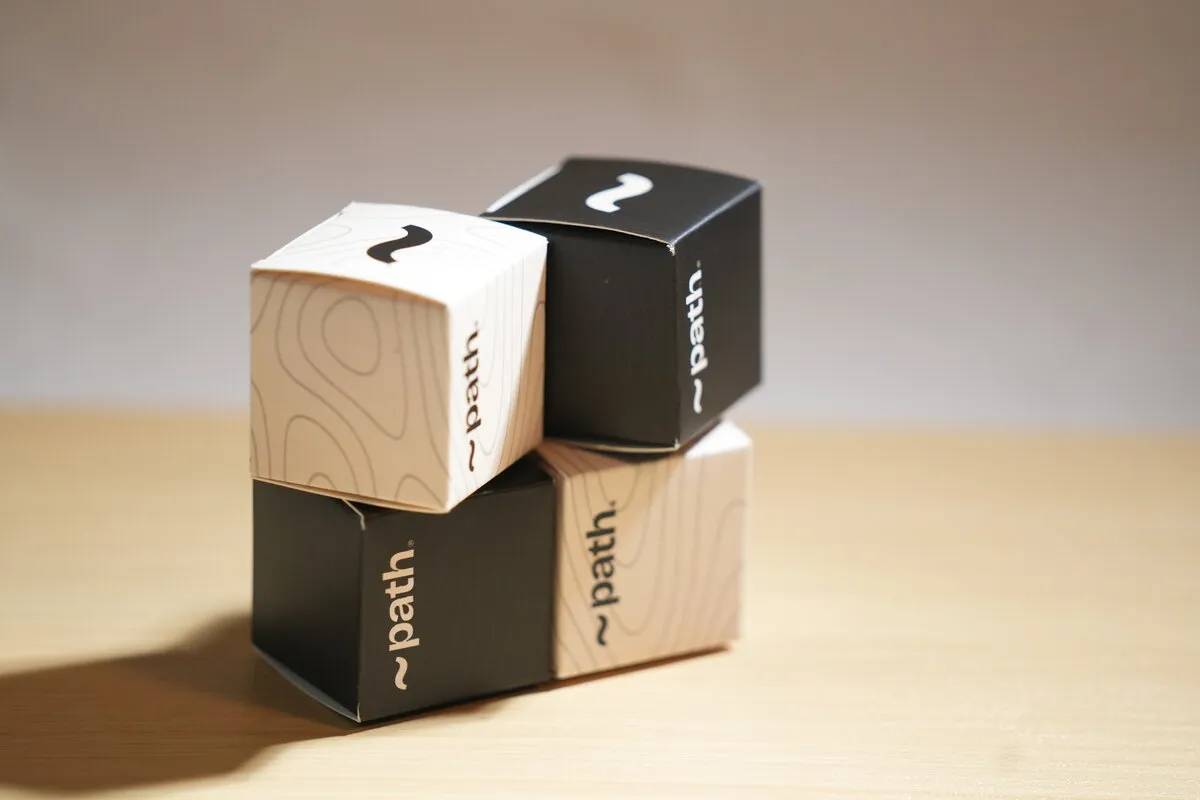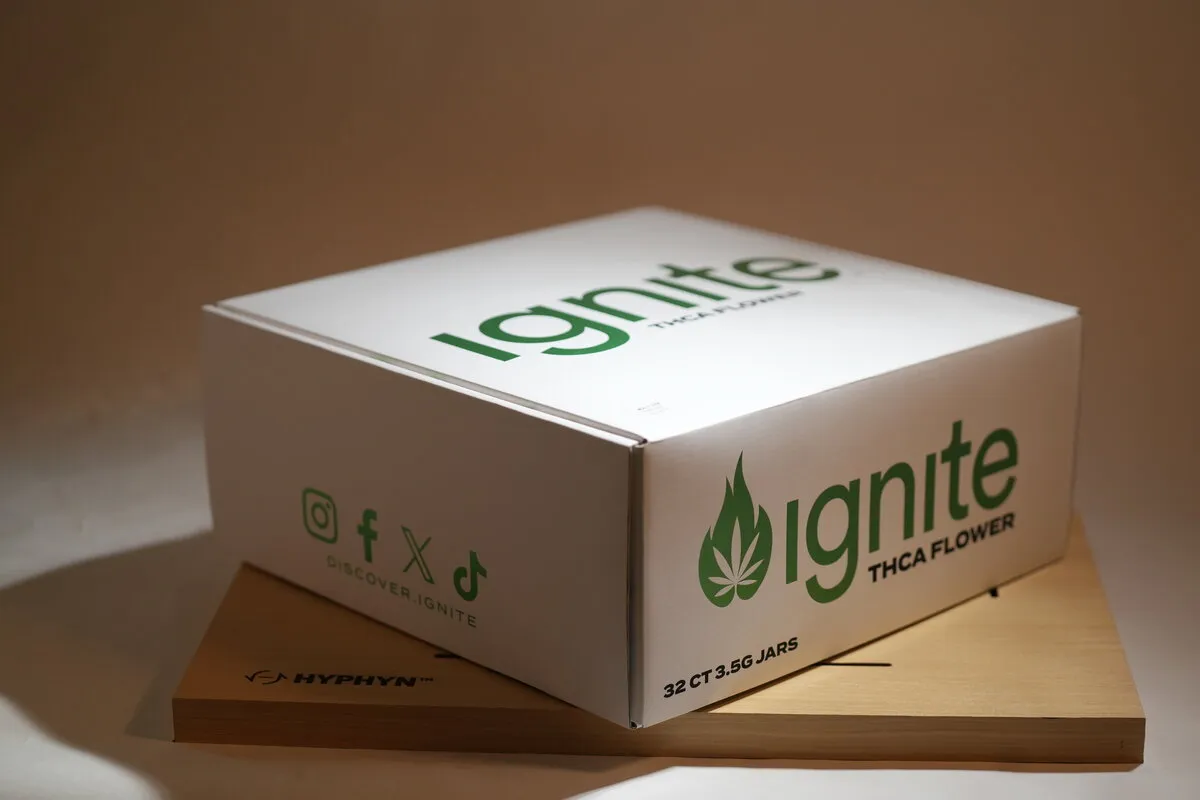
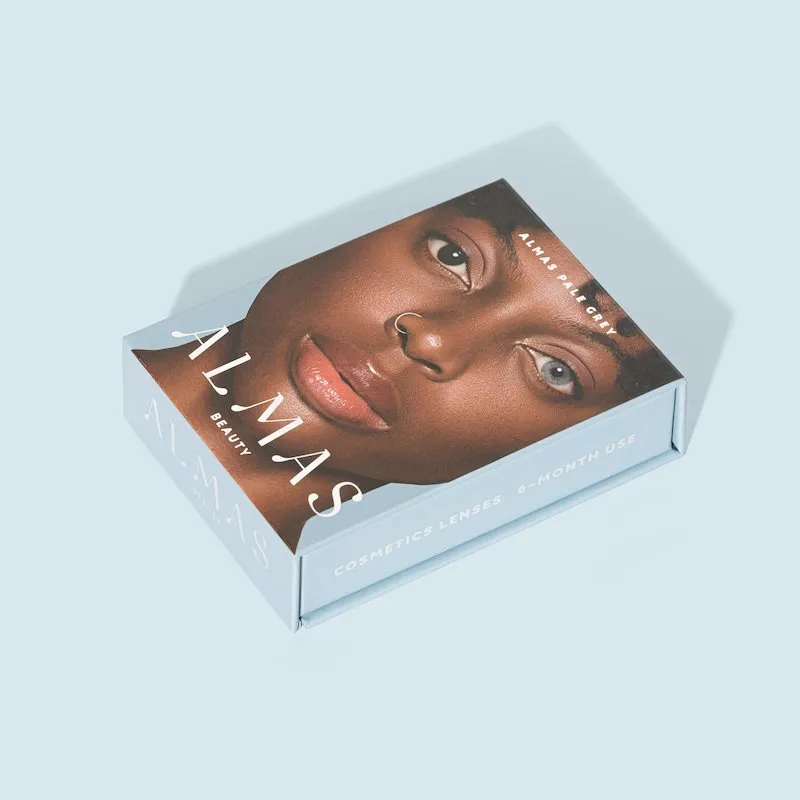
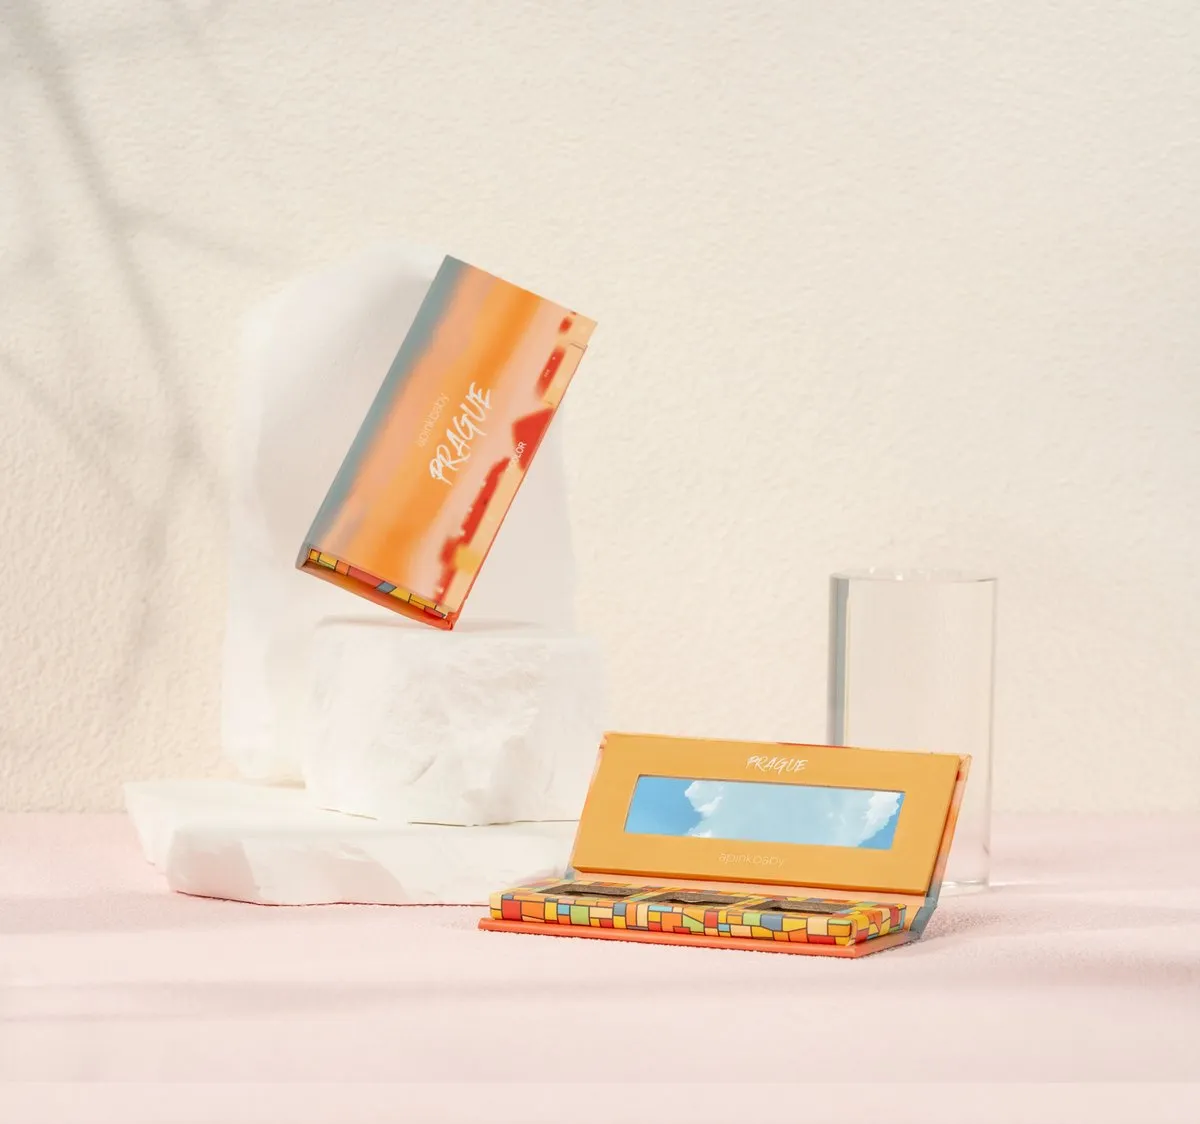
A printed paper box is a small industrial product: a sheet of board is printed, laminated, die-cut, creased, glued and packed. Each of those steps can be done badly in ways you only notice after the container arrives — colour that shifts between the sample and the run, a crease that cracks on the fold, a window that does not sit flat. This page explains how we build boxes in our Shenzhen workshop and what each decision costs you.
Folding carton or rigid box?
Almost every paper box project starts with one question: does the box have to fold flat for shipping, or hold its shape and feel heavy in the hand?
A folding carton is printed on a single sheet, die-cut and creased, and delivered flat. It is the standard for cosmetics cartons, food and tea boxes, supplements, retail display and e-commerce packaging — cheap to print in volume, cheap to ship, and easy for your packer to fold.
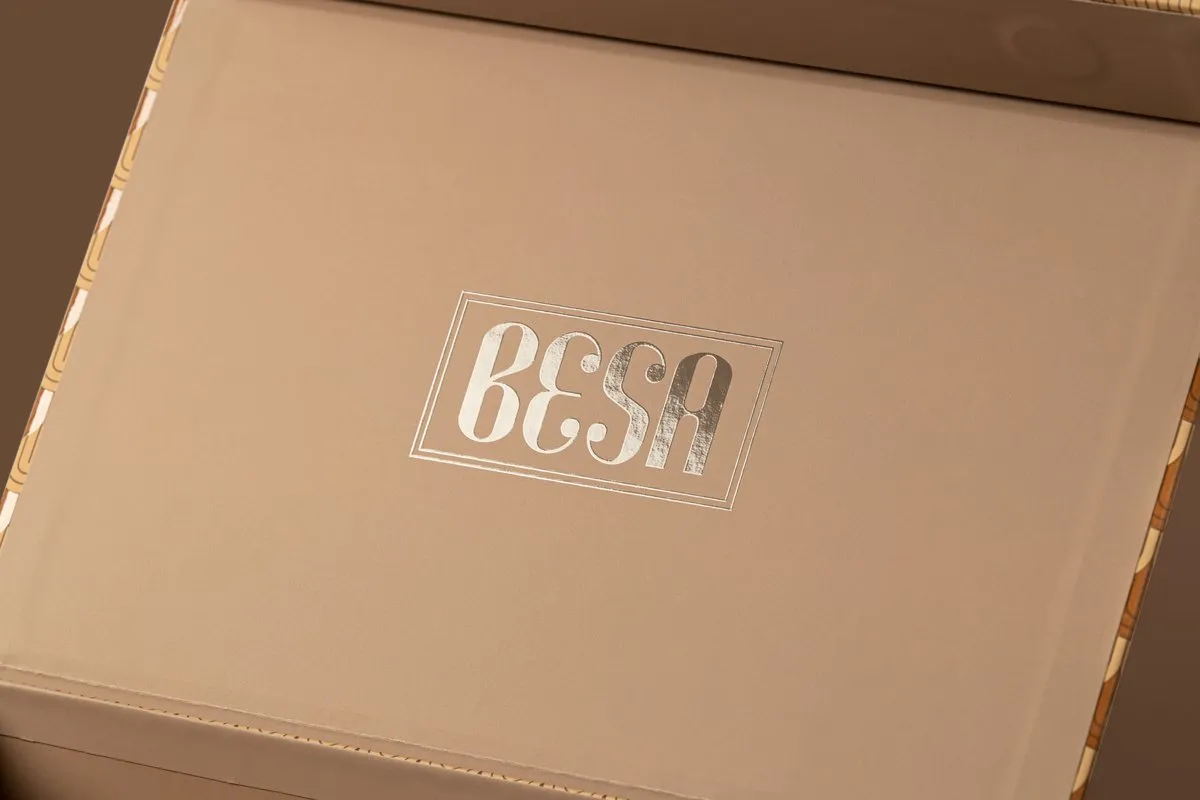
A rigid setup box is built from greyboard and wrapped in printed art paper. It arrives assembled with the walls already formed, which is why it holds shape, protects fragile contents better and feels like a gift. Typical uses are perfume and cosmetics sets, gift-with-purchase packaging, electronics and liquor.
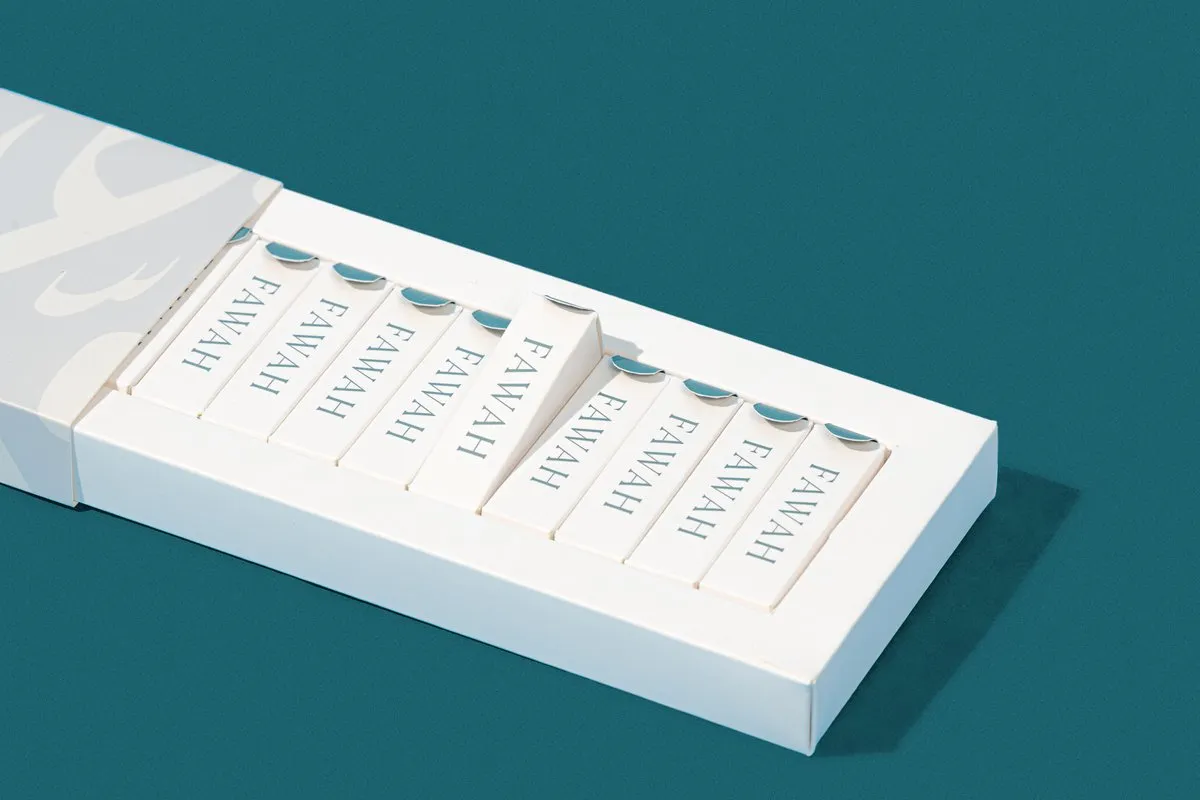
A third option, common in cosmetics and stationery: a printed sleeve or slipcase that wraps a plastic or rigid tray. It gives the retail look of a printed box while a clear box inside shows the product.
Board and material
Box performance is mostly decided by the board, not the print.
- Folding board (SBS / FBB / GC1): the usual choice for printed cartons. Bright white on the print side, it takes CMYK and Pantone colour cleanly and folds without cracking.
- Kraft and recycled board: used when the brand wants an unbleached, natural look; print colours sit differently on kraft, so we proof it.
- Greyboard: the core of rigid boxes, wrapped in printed paper or specialty stock. Wall thickness is chosen for the box size so large lids stay flat.
- Specialty stocks: textured, metallic, soft-touch and coloured papers for wrapping, plus paper or EVA inserts to hold the product in place.
Printing, die-cutting and finishing
Printing is offset for cartons and litho-wrapped for rigid boxes: CMYK for photographs plus Pantone spots for brand colour. Before the run we output a proof, and for new structures a pre-production sample cut on the real die.
Die-cutting is done from a die made for your box outline; the same die sets the fold lines, the glue flaps and any window. Because the die is kept after the run, reorders skip the tooling stage.
Finishing is where a box leaves the “printed carton” category: hot foil stamping for metallic logos, embossing and debossing for raised or recessed detail, spot UV for a gloss contrast on a matte surface, matte / gloss / soft-touch lamination for handling feel and abrasion resistance, plus windows, magnets, ribbon pulls and custom closures.
Assembly, inserts and packing
For rigid boxes and sets, the last stage is hand assembly: wrapping the board, fitting the insert, adding ribbon or elastic, and checking the lid fit. Inserts are die-cut to the exact dimensions of each item — paper, EVA or foam depending on the weight. Sets can be assembled, shrink-wrapped, barcoded and export-cartoned so they arrive ready for the shelf or the fulfilment centre.
Everything is inspected before packing: print against the approved sample, glue quality, lid fit, insert alignment and surface defects. Export cartons are specified for the shipping method and the destination.
What we need from you to quote
- The product (a photo or physical sample) and its filled weight
- Box dimensions, or the dimensions you want the box to be
- Quantity per size and per version
- Artwork (AI, PDF or PSD with fonts and images) or the brief for a new design
- Finishing you want, and any second-language or barcode requirements
With those five things we can confirm the structure, the board, the MOQ, the lead time and the price — and issue a sample before production.