Buying a printed box is mostly a sequence of decisions, and each one narrows the price. This guide walks through them in the order that matters, so you can brief a supplier — ours or anyone else’s — with enough information to get a real price instead of a range.
1. Start with the product, not the box
Write down four things before you talk to anyone: what goes inside, its filled weight, how it will be sold (shelf, e-commerce, gift, subscription) and how it will be shipped. Those four answers eliminate most structures immediately.
A 40 g cosmetic jar and a 2 kg gift set do not share a box specification, even if the artwork looks the same on a screen.
2. Choose the structure
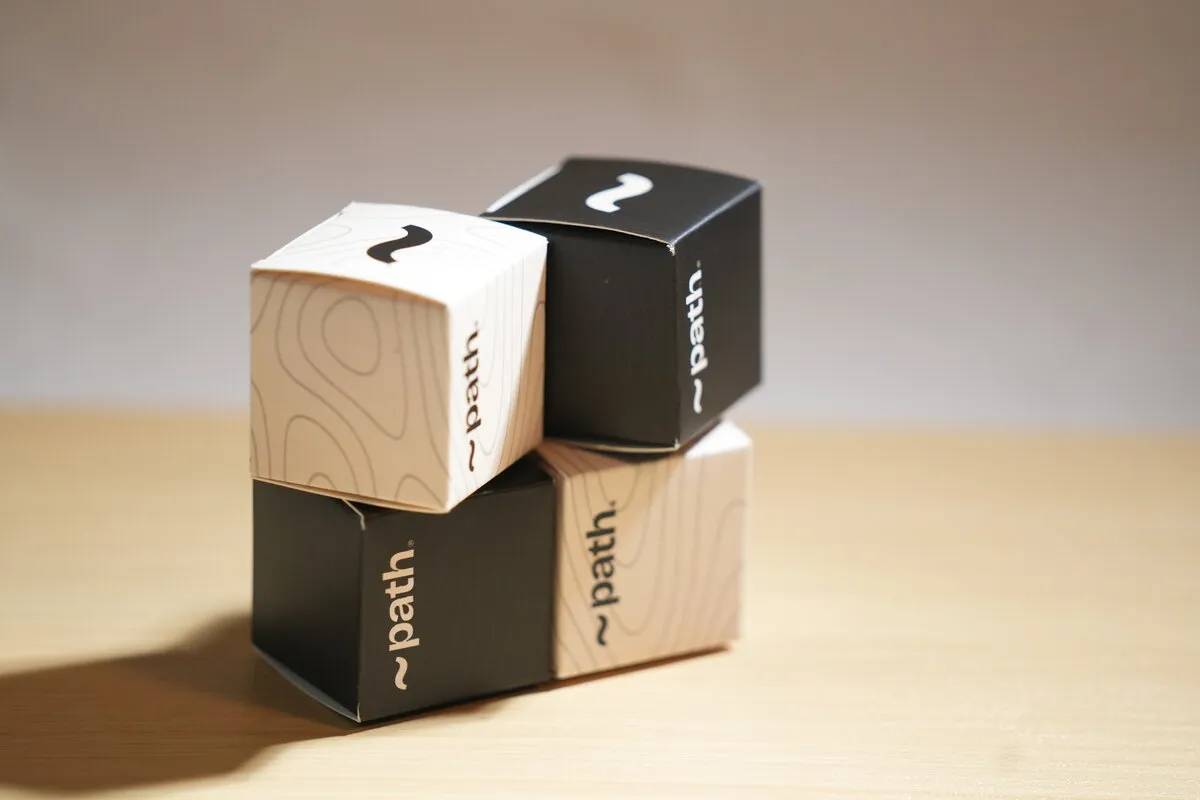
- Folding carton — printed, die-cut and creased, shipped flat. Cheapest per unit, the standard for retail cartons, supplements, tea, food and e-commerce.
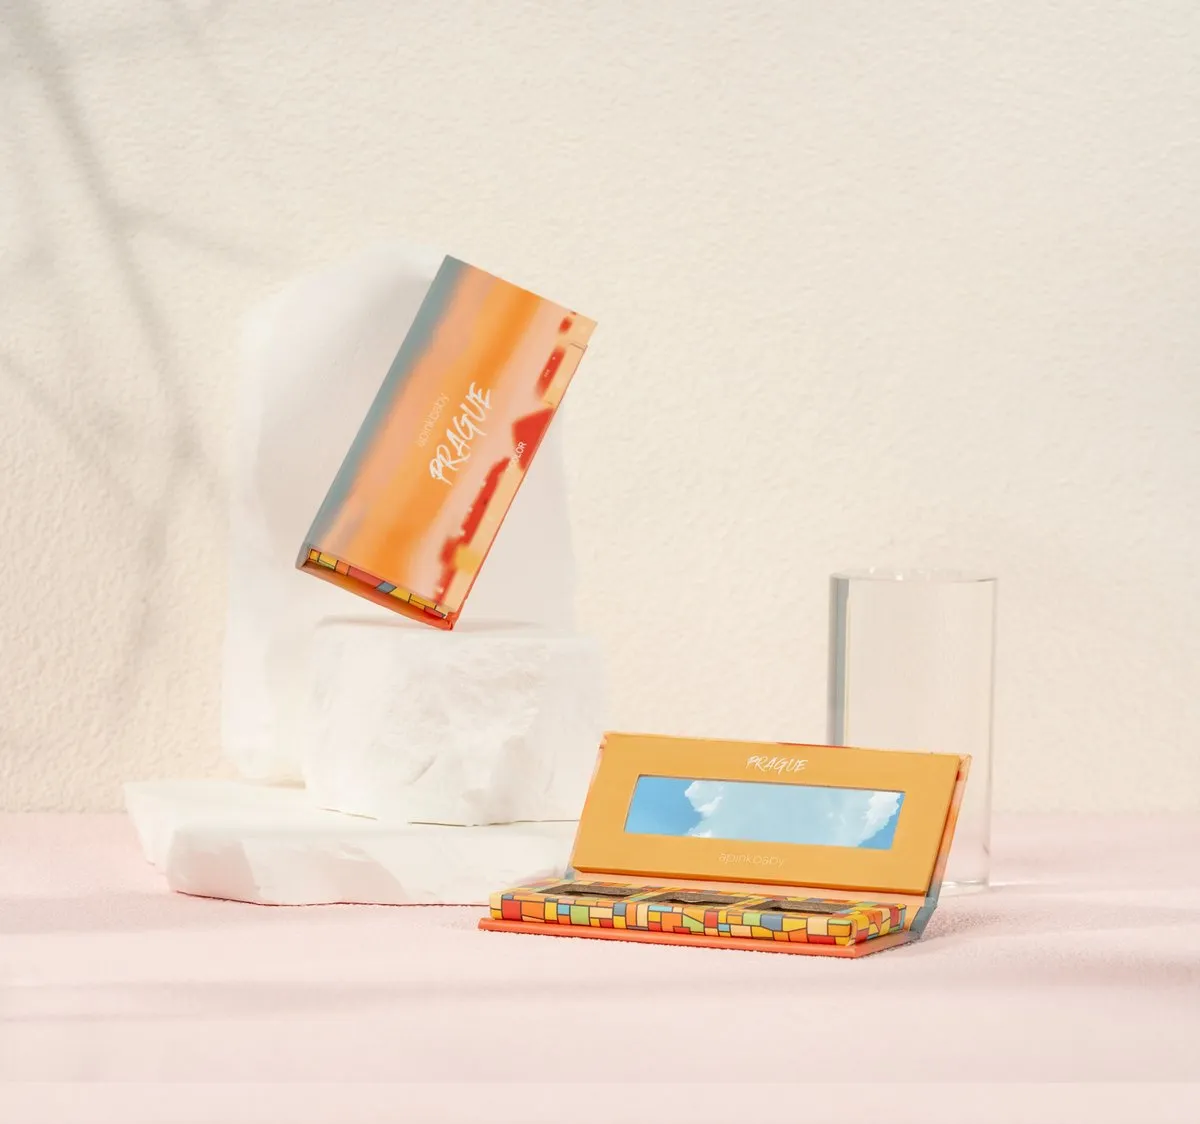
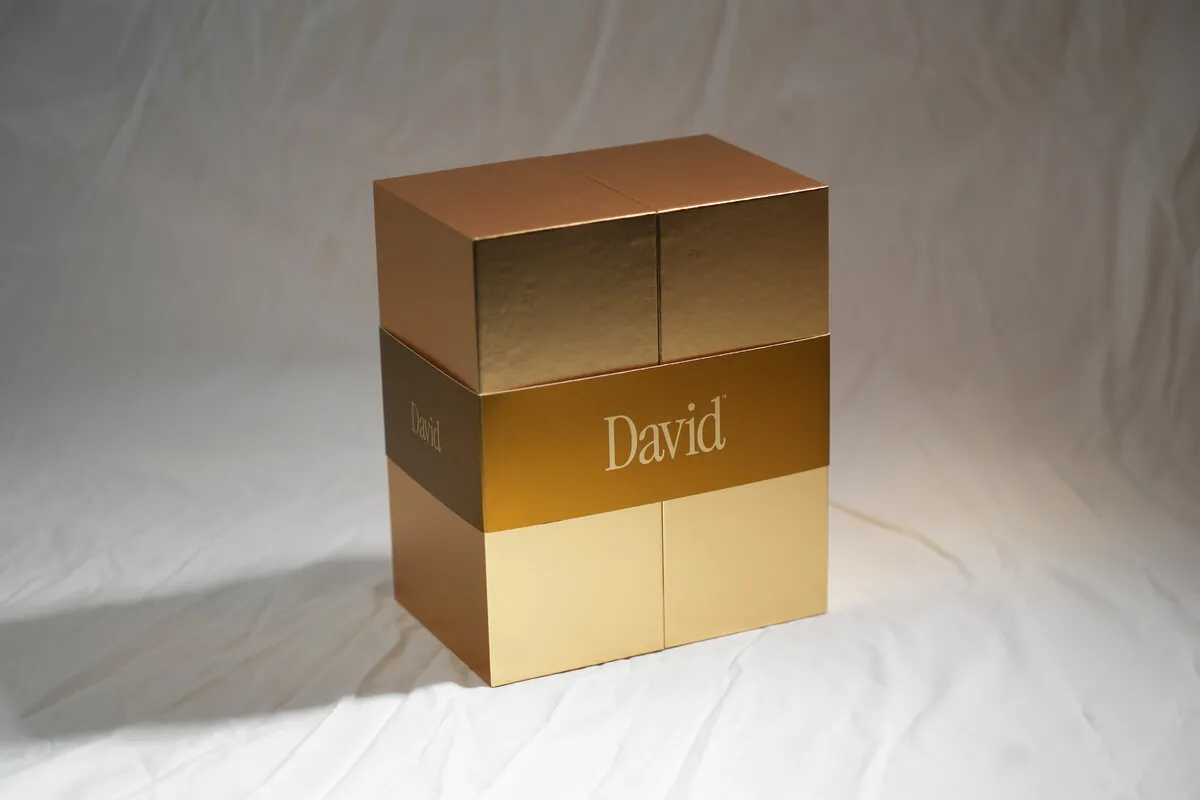
- Rigid setup box — greyboard wrapped in printed paper, delivered assembled. Holds shape and feels premium; used for gift sets, perfume, cosmetics and electronics.
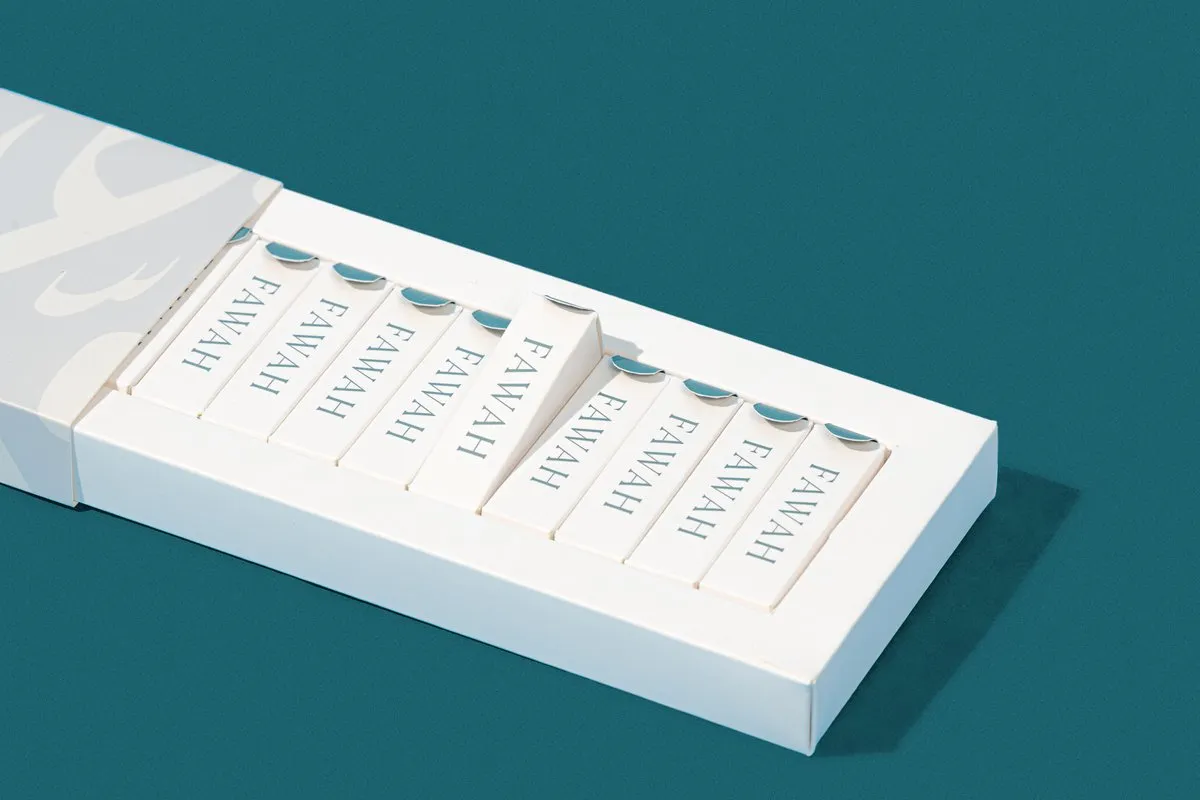
- Sleeve and tray — printed sleeve over a tray or a clear box. The retail look of a printed box with a lighter structure, often used where the product should be visible.
- Tuck-end, reverse-tuck and crash-lock bases — gluing styles that decide how the box is assembled by your packer and how strong the base is.
3. Size, board and window
Box size follows the product plus the internal clearance you want; the board follows the size and the weight. If the box is large and light, light board can bow — if the box is small and heavy, the base has to be stronger. Die-cut windows and printed sleeves change the internal structure, so they are decided with the size, not after it.
4. Print
Offset CMYK covers photographic artwork; Pantone spot colours reproduce brand colours exactly. The number of print colours, whether the inside is printed, and whether the box carries a barcode, batch panel or multi-language text all change the print layout — and therefore the plate and set-up cost.
5. Finishing
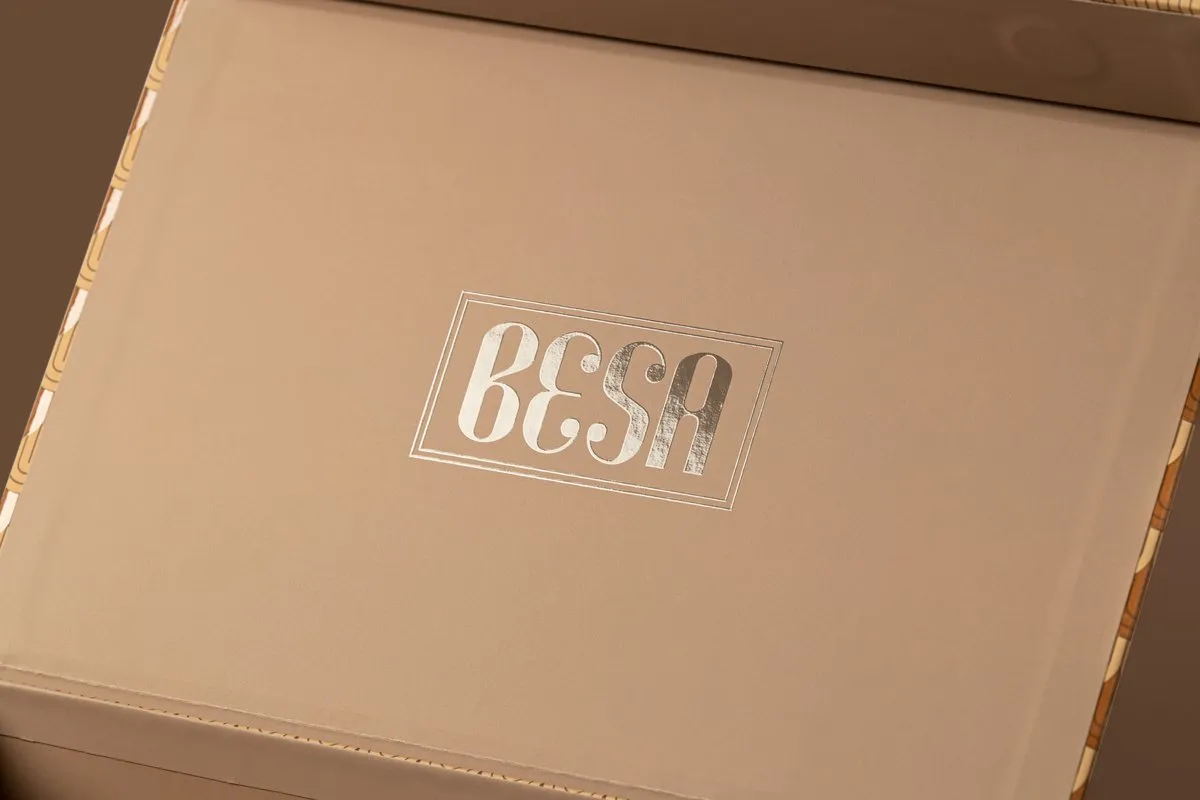
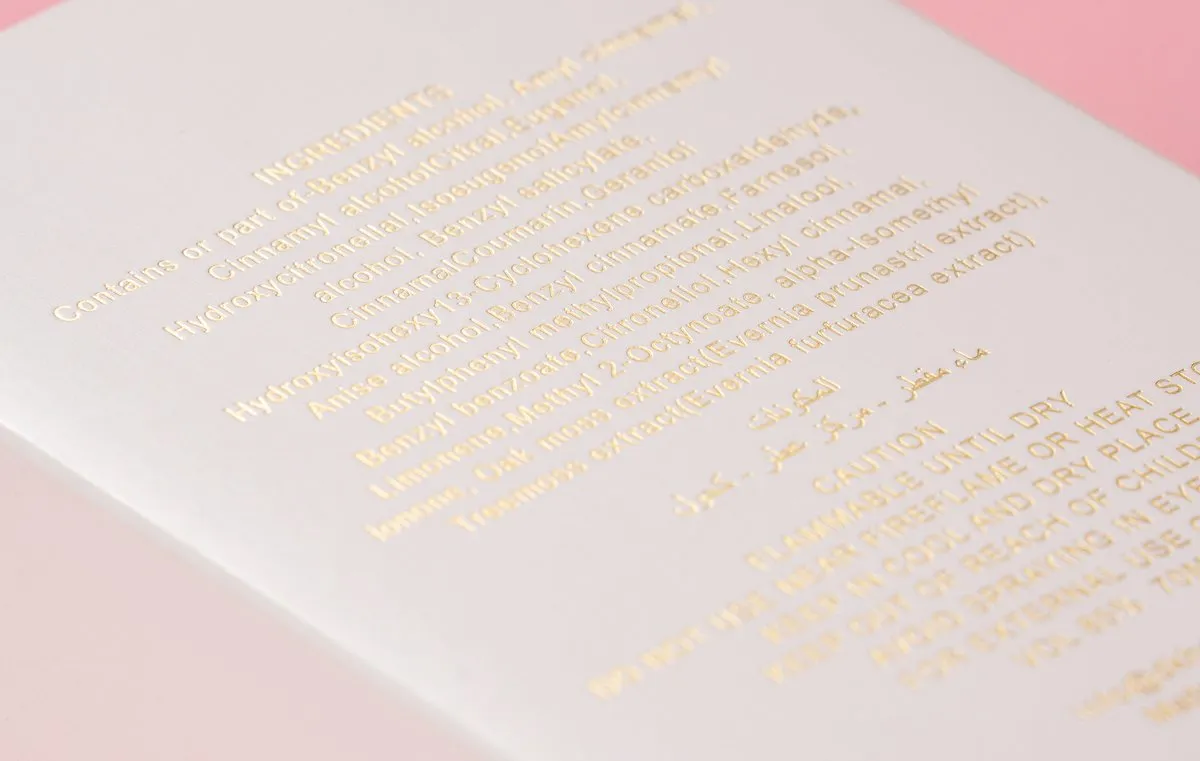
- Hot foil stamping — metallic or coloured foil on logos and names
- Embossing / debossing — raised or recessed detail, with or without foil
- Spot UV — gloss varnish on a matte surface
- Lamination — matte, gloss or soft-touch; also protects the print through handling
- Windows, magnets, ribbons, elastic — structure-level finishing
Each addition is quoted separately, so it is worth knowing which two matter most to the brand rather than asking for all of them on the first run.
6. Quantity, tooling and MOQ
Die-making, plate-making and print set-up are one-off costs per design. That is why MOQ exists and why the price per box falls as quantity rises — the fixed cost is spread further. If your first run is small, the usual pattern is a simple structure at a lower quantity, with the finishes added on the reorder once the design has proven itself.
7. Sampling and approval
Always approve a sample before production. Check the fit with the real product inside, the colour against your brand standard, the fold quality on the creases, and the lid or closure feel. A pre-production sample costs a little and prevents the expensive version of the problem.
8. Shipping and delivery
Ask what the export carton will be, how many boxes per carton, whether the boxes ship flat or assembled, and what documents the shipment needs for your country. For large quantities, sea freight and air freight differ enough in cost and timing that the choice should be made with the order, not after it.
Before you send the enquiry
Have ready: product photo, filled weight, box dimensions, quantity, artwork status, finishing you want, and the destination country. With that, a factory can quote a structure and a price within a day — without it, everyone is guessing.